

Complete the workspace flow
New workspace setup moves through five decisions. Each one changes what becomes available after Home opens.1
Sign in with the intended identity
Use Google sign-in or verify your work email. If an invitation is waiting, use the invited address so Marketer can place you in the existing account and workspace.Next state: you either join an invited workspace or enter the create-workspace flow.
2
Describe the company
Add the company name, website, optional logo, country, and reporting currency. Confirm these values for the company this workspace represents.Next state: Marketer opens the data-sync step with the workspace identity saved.
3
Connect a source or skip deliberately
The onboarding Sync in data step can connect Meta Ads, Google Ads, Shopify, or Triple Whale (Beta). Authorize a provider and select the resources that belong to the workspace, or skip and connect later from Integrations.Next state: a connected source begins its first sync, or the workspace continues without provider data.
4
Choose your working profile
Select the role and use cases that describe how you expect to use Marketer. This shapes setup; it does not replace the Owner, Admin, Member, or Viewer permission assigned to your membership.Next state: Marketer can tailor the remaining setup prompts without changing your workspace authority.
5
Bring in the team or continue alone
Invite teammates, connect Slack, or skip both choices. Confirm the correct people and destination workspace before sending an invitation or authorizing Slack.Next state: Marketer opens the workspace welcome state and Home.
Onboarding does not ask you to select a plan. If billing applies and your role permits access, manage it later from Settings → Plans & Billing.
Select the correct workspace
On Home, read the workspace name in the upper-left corner before using the composer. Switch workspaces when the visible company is not the one that owns the source or work you need. Changing the workspace changes the accessible connected accounts and workspace records. It does not move a conversation, campaign, brief, creative, product, or integration from one workspace into another.Connect data after onboarding
Owners, Admins, and Members can manage integrations. Viewers can inspect the visible connection state but cannot connect, reconnect, change selections, sync, or disconnect.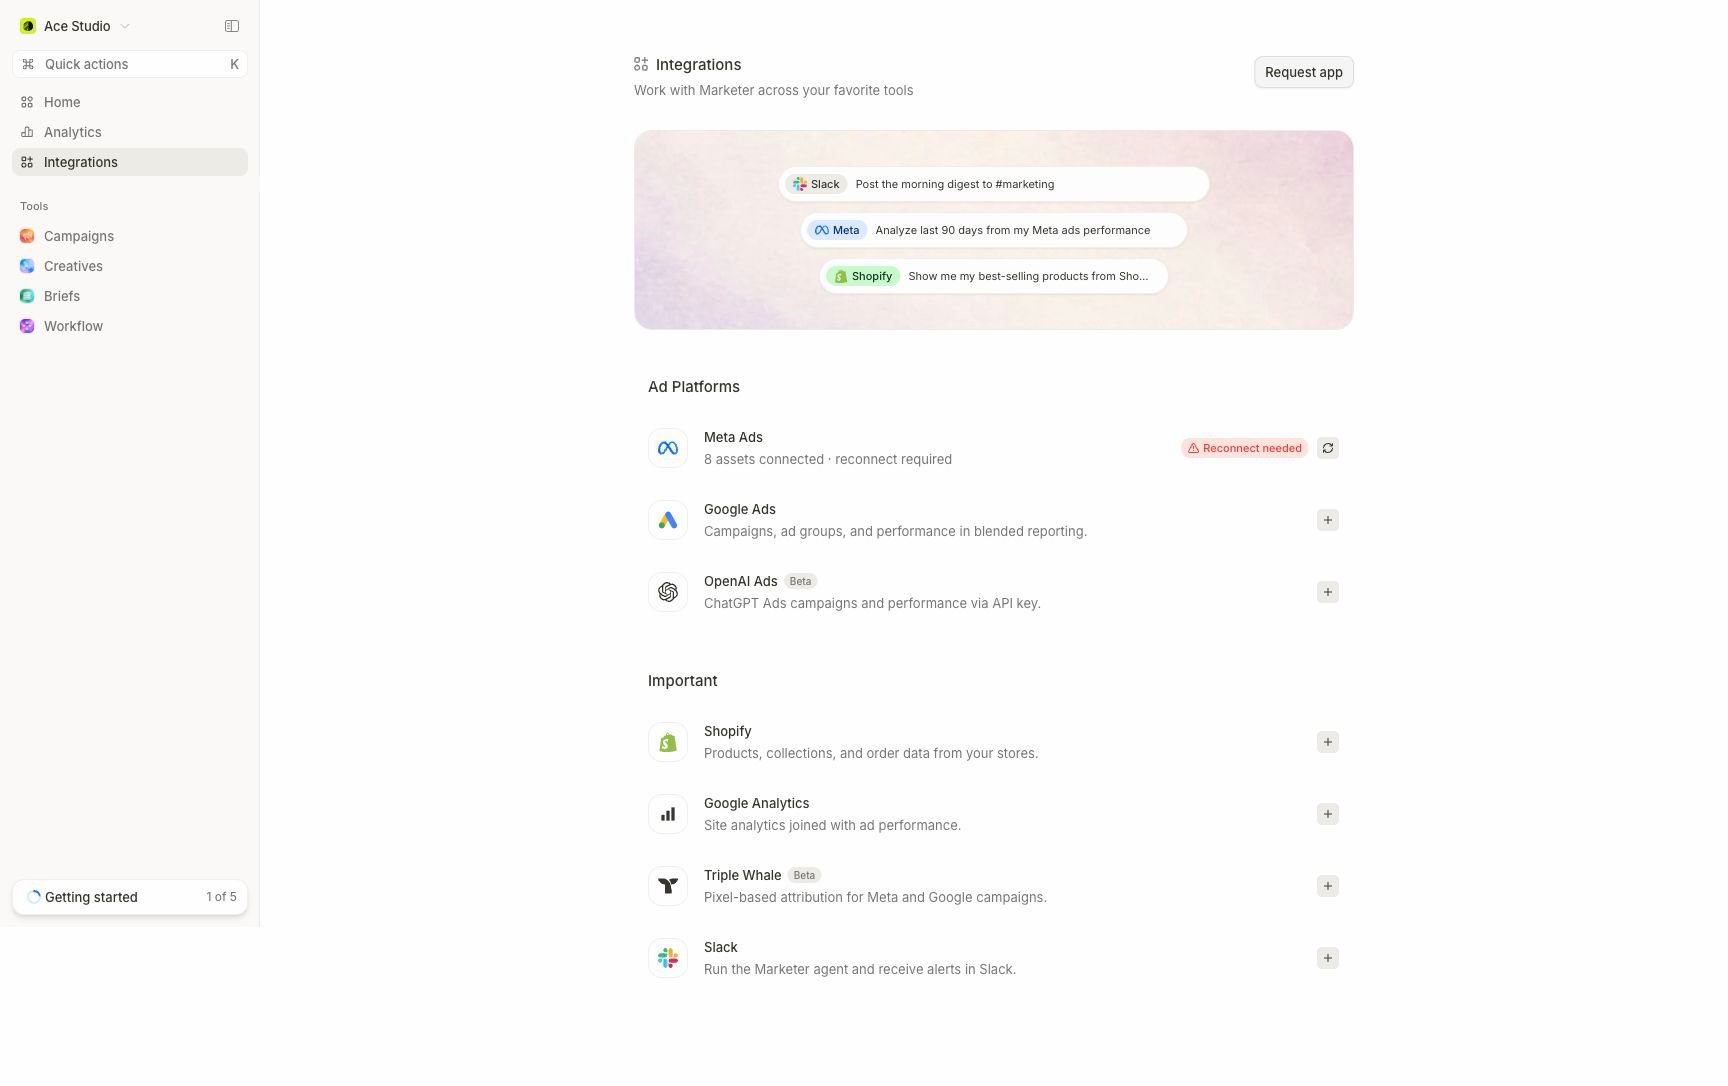
Open Integrations to choose a provider and see which sources still need setup.
1
Open Integrations
Select Integrations in the main navigation. Confirm the workspace again before you grant provider access.
2
Choose the source
Open the provider that owns the facts you need. Use Meta Ads or Google Ads for platform campaign performance, Shopify for store and order data, Google Analytics 4 for site reporting, or another supported provider for its documented purpose.
3
Authorize access
Continue through the provider flow or enter the credential the connection form requests. Never paste provider credentials into chat.
4
Select resources
Choose the ad accounts, stores, properties, or channel settings that belong in this workspace. Do not select every available resource by default.
5
Verify connection and coverage
Check the visible status, selected resources, and sync or coverage information. Run a small read-only request for a completed period before asking for broad analysis.
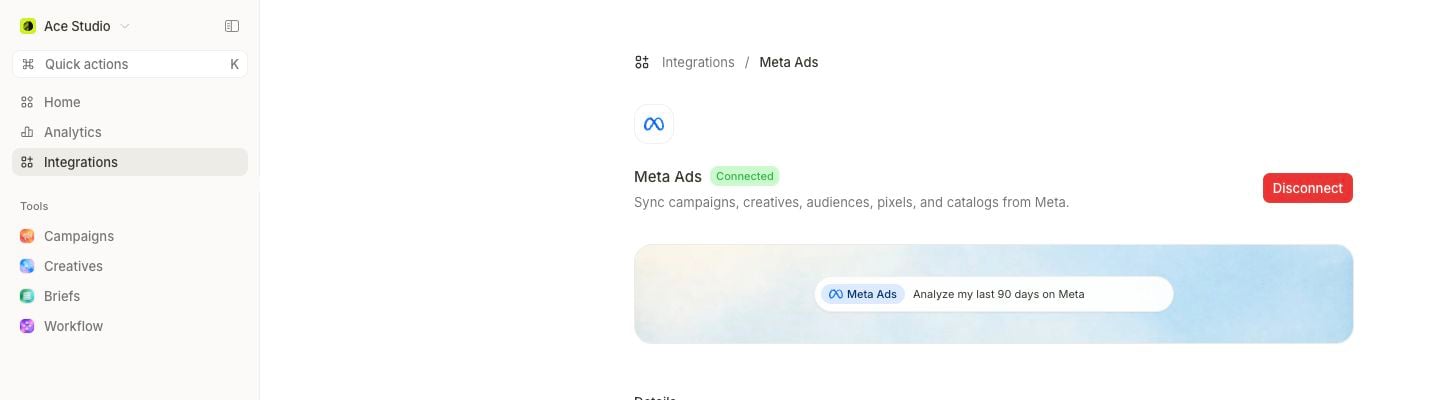
The provider header confirms that Meta Ads is authorized. Continue down the page to verify selected assets and sync coverage.
Read the connection state
Use the state shown on the provider detail rather than assuming authorization succeeded.
Use Resync when authorization and resource selection are correct but imported data needs a refresh. Use Disconnect only when the workspace should stop using the source; reporting and workflows can lose their data context.
Choose sources by question
Microsoft Ads (Beta) and OpenAI Ads (Beta) are also available. Follow Beta integrations for their current setup and boundaries.
Add context at the right level
Connected sources answer what happened. Workspace context explains the business those facts belong to.- Put durable company, customer, product, positioning, and operating facts in Knowledge.
- Use Branding & Brand Profile, Autofills, Guardrails, and Autonomy for the defaults those settings own.
- Select + in the Home composer to attach a campaign, brief, creative, or product to one request. Use
@to mention an agent. - Keep temporary hypotheses, date windows, and one-off constraints in the request instead of turning them into workspace-wide facts.
Confirm the workspace is ready
Before your first analysis, verify all six conditions:- The upper-left workspace name is correct.
- Your workspace role matches the work you need to do.
- The required provider says Connected.
- The intended provider resources are selected.
- The relevant completed dates are covered by a successful sync.
- Country, reporting currency, timezone, attribution source, and metric definitions are understood for the comparison.