

Before you begin
You need:- Access to Marketer
- Permission to connect one Meta Ads or Google Ads account
- An approved product, offer, or positioning source for the workspace
1. Enter the workspace
1
Sign in
Use Google sign-in or enter your work email and complete email verification. The email path also asks you to finish your personal profile.
2
Join or create the workspace
Accept the invited workspace when one is available. Otherwise, enter the company name and website, then confirm the country and reporting currency. A logo is optional.
3
Complete the setup prompts
Choose the role and use cases that match how you plan to work. Invite teammates or connect Slack if you are ready, or skip those choices and continue.
4
Confirm the active workspace
When Home opens, check the workspace name. Switch before continuing if it does not own the data and Knowledge you intend to use.
Onboarding does not include plan selection. Workspace billing, when applicable and available to your role, lives in Settings → Plans & Billing.
2. Connect one source
You can connect an account during the onboarding Sync in data step or later from Integrations.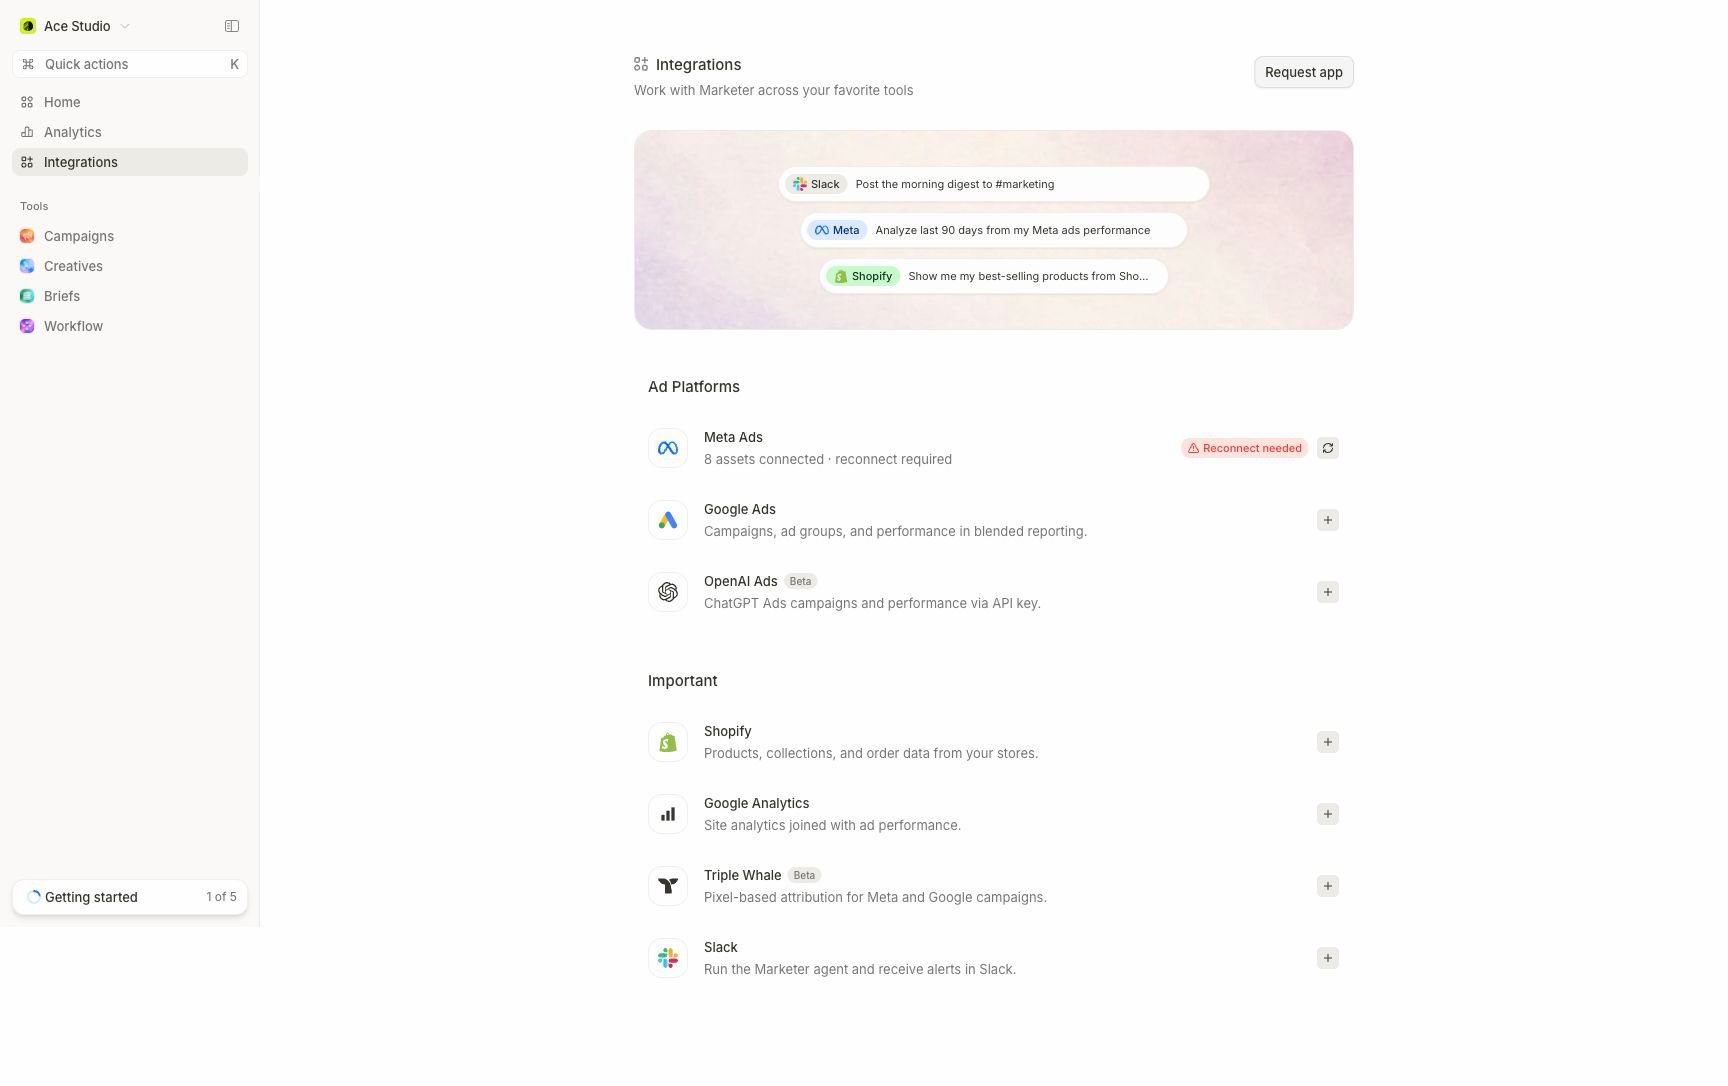
The Integrations directory shows which providers are available and which connection needs attention.
1
Open Integrations
Select Integrations in the main navigation and open Meta Ads or Google Ads.
2
Authorize the provider
Continue through the provider flow with an identity that can access the intended account. Review the provider permissions before granting access.
3
Select the account
Choose only the account or accounts that belong to this Marketer workspace. Similar account names are not enough; confirm the provider identity and account selection.
4
Check the first successful state
Look for Connected, then inspect the selected resources and the sync or data-coverage state shown on the provider detail page.
3. Submit the first request
Return to Home. The composer sits beneath the workspace overview.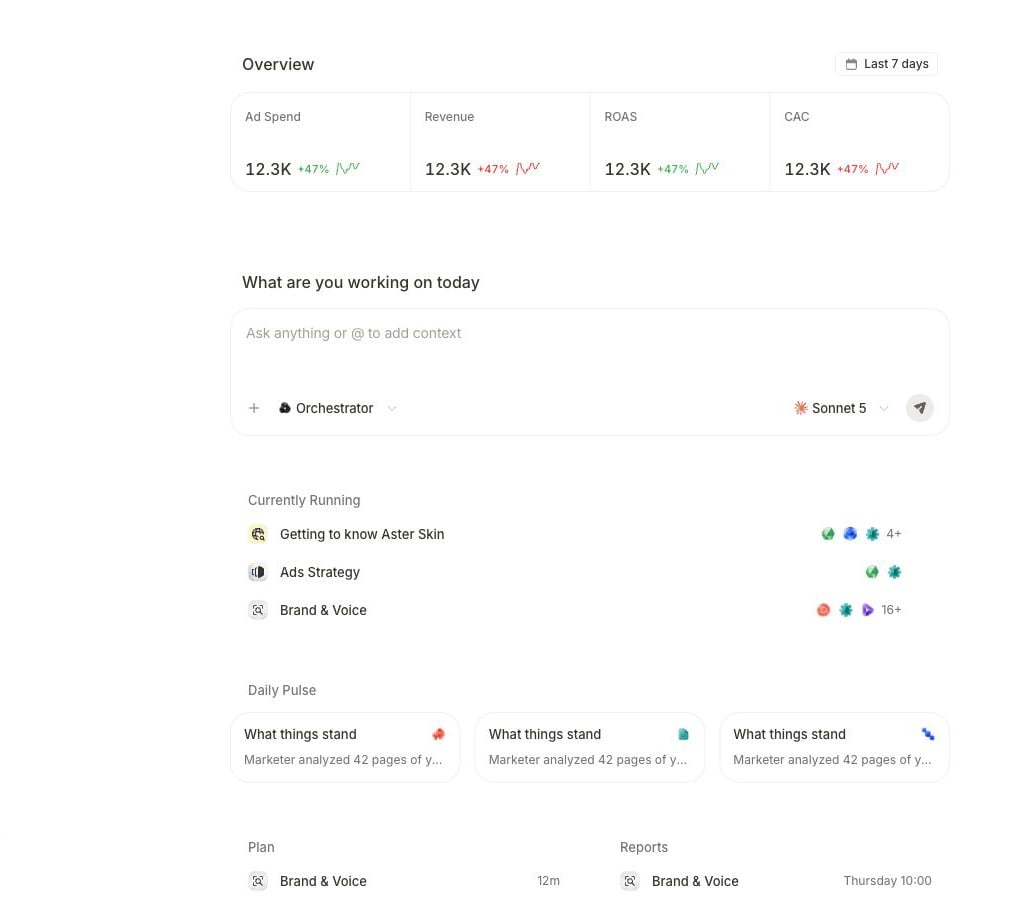
Use the Home canvas to review current context and start a bounded task.
@ to mention an agent, not to select a workspace record.
4. Follow the visible state
After you submit, Marketer can take one of these paths:
Do not start a second copy while the first task is active. A quiet conversation can still have work running behind its task detail.
5. Confirm the result
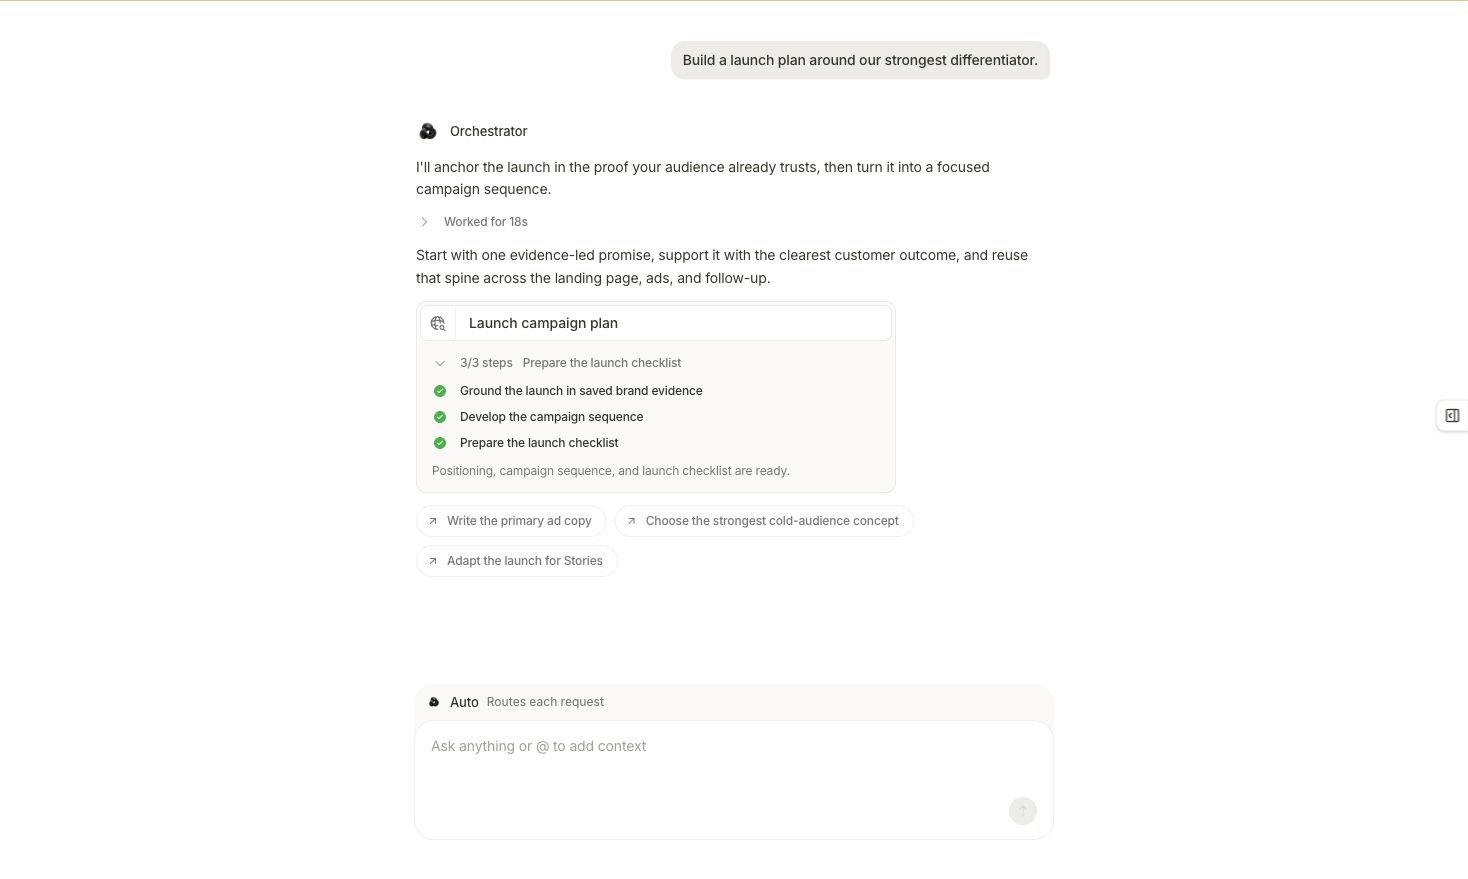
A completed launch-plan task shows the finished work and optional next directions.
- The intended product, offer, audience, workspace, and provider account context
- The exact evidence behind the central differentiator
- One focused positioning direction
- A campaign sequence that carries the same evidence-led promise
- A launch checklist with owners, inputs, tracking, creative, destination, budget boundary, and review steps
- Assumptions and unresolved inputs
- Confirmation that no campaign, creative, budget, or provider setting changed
If the result does not complete
You are finished when the plan is reviewable and you can identify its evidence, scope, limitations, and action state without guessing.
Next, learn how to set up workspace data in depth, follow the task deliberately, or review the result.